Well, as I sit here icing my hand, I can sit back and say once more with authority that I need a table saw. Why, you ask?–other than the convenience factor? Because I could’ve used it to fix a costly mistake I discovered today…
I started off making the open space in the front of the drawer to remove stock so the false front can fit and look nice. Pulled out the coping saw and my bird’s mouth jig and started cutting. The result (after some sanding) was a nice smooth curve. I used a paint can to trace the line.
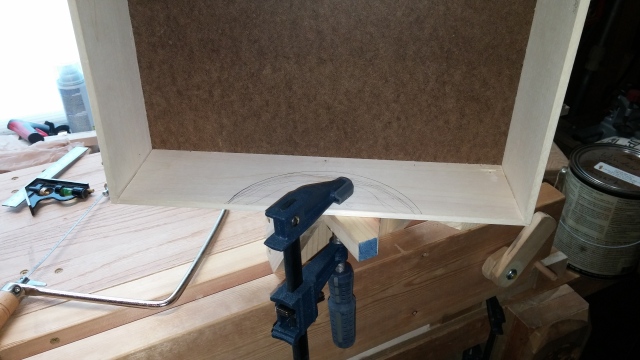
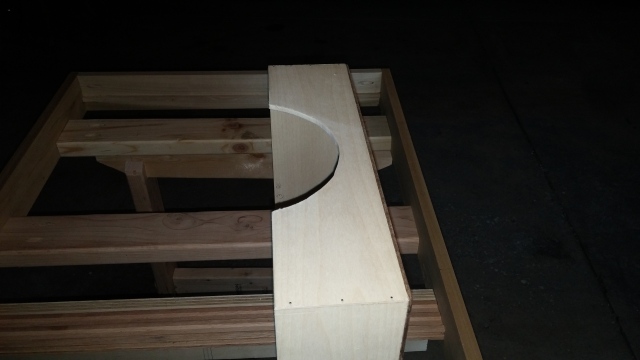
Then I put the false front on it to see what it looked like and that’s when I discovered the great mistake:
The Mistake
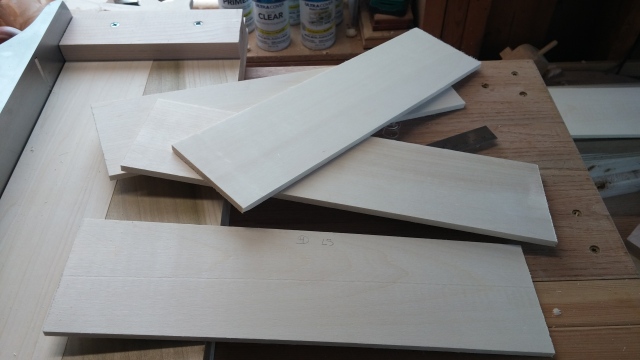
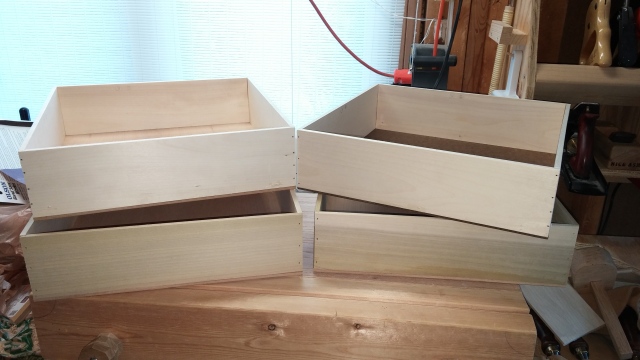
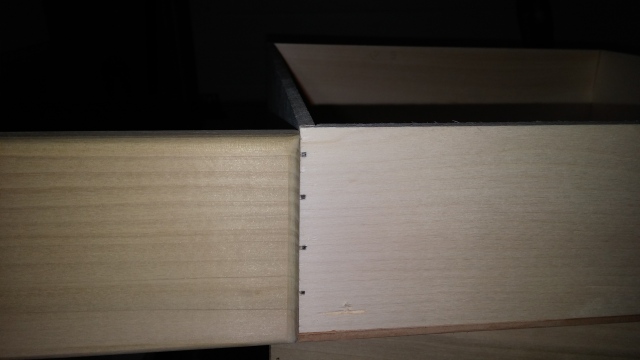
So what is this mistake I’m referencing? Well, first thing I did when I got out into the shop today was to line up the false faceplates for the drawers—of which I’m pretty proud—with the rest of the drawer and then do a little test fit under the main top to see how everything lines up. That’s when I noticed my horrifying mistake, made when I did my initial measurements for this beast. I wanted to use a 3.5” wide false front for the door for the drawers—since 3.5” stock was what I already had on hand after building the base and the top in the legs. All fine and good. Except when I went to make the drawers out of .25” thick stock, I selected the 3.5” wide variety. I have no idea why.
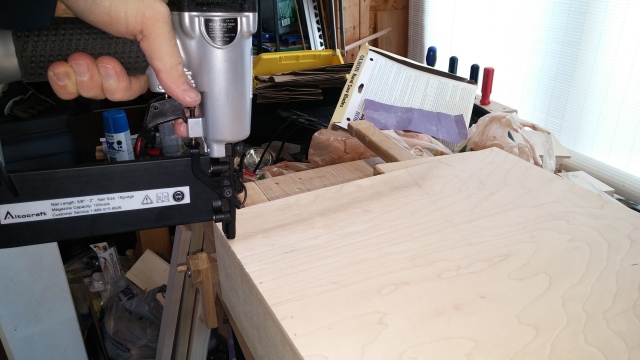
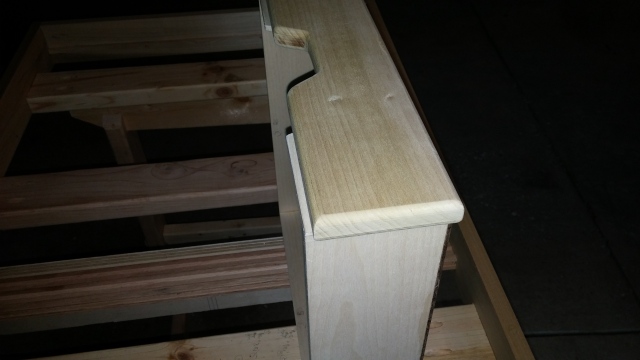
I’m sure you can guess what comes next: the faceplate was exactly the same size as the drawer, which was even made worse by the fact that I nailed the bottoms on to the drawers and they’re 1/8” thick hardboard. So now the entire drawer sticks out 1/8” under the faceplate.
To make matters worse, when I routed the edges and made these nice smooth corners for the faceplates, it took off just that much wood, so that when I put the false front up against the completed drawer, everything sticks out a little less than a quarter of an inch.
Ideas ran through my head as to how to fix this problem. I could remove the bottoms, bust out all the nails, and then trim the base of the drawers by about a quarter inch, exposing fresh wood and then re-nailing the bottoms on. It sounds like a lot of work and it is, or would be. The nails from that brad gun hold the bottoms on so tight I doubt I could get them off without destroying the drawers in the process. And I didn’t even use glue…
Another option was to cut from the top. I check it out and on all four drawers, only one of them had any nails that would’ve caused any problems (and at that, only two). It looked like my best option was to take the Japanese pull saw and slice off a quarter-inch from every side…of every drawer.
See where I’m going with the table saw thing? If I had one, I could line up the base against the fence and then just cut each side 1/4” short (I’ve seen videos of guys making boxes, then using the table saw to rip the top free, leaving a perfect joint). Turn the box on its side, rep another quarter-inch off, turn again and again and before you know it you’ve got a drawer that’s a 1/4” shorter. Obviously I would’ve had to remove the two nails from the offending box, but other than that I think it would’ve gone in about a half hour or so. I think.
The Solution
So, back to reality! What can I use besides the Japanese pull saw that would go faster? Coping saw? No—just no. A regular Western push saw? Definitely not, plus the kerf would be sloppier. The jigsaw? Hell no, my jigsaw’s a piece of junk. It works—after a fashion—but it leaves a ragged line and the base plate can’t stay perpendicular to the blade to save its life.
The band saw’s out—the throat is nowhere near big enough to be able to handle this 13.5” box sliding through. Although that would’ve been a cool solution.
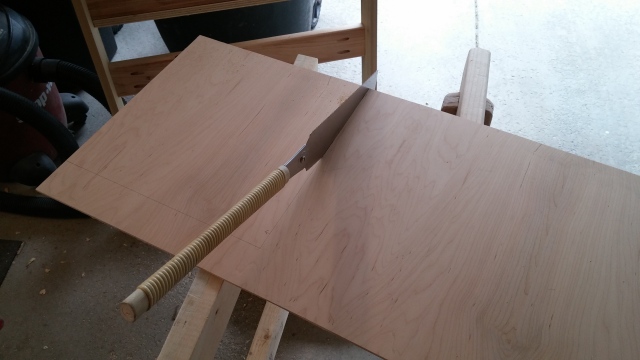
That leaves the trim router. My main router table would work unless I went straight down over a very wide bit and I don’t think I have the skill or the bit necessary to do this. So I decided to use a straight edge, mark my measurements on all four sides of the drawers, then clamp the drawer to the straight edge using it as a template.
The idea is to put the trim router inside the drawer, then route away the waste to the template, using a flush trim bit. Sounds simple?
Right?
I realize because of the size of the router and it’s base plate I wouldn’t be able to go from corner to corner, but I figured the couple inches on each corner would be nothing for the Japanese pull saw take care of compared to ripping the entire length of the drawer. On each side.
So I tried it out. On the first drawer, I quickly went through two sides and it seemed to be pretty good. Smooth sailing. Loud, dusty, messy, yes, but it got the job done pretty quick. Just like I planned! Maybe this will take so long to fix after all.
I moved on to the third side. Here is where I encountered my first problem. The router bit caught a wild grain in the wood and the thing took off for about half-inch. No big deal, I was never in any danger and I had a good grip on the router itself. However, it did pull itself up off the template and took a nice chunk out of the drawer side. Worse than that, the grain in the wood decided to split from where the router stopped when I yanked it out—it cracked the side of the drawer almost in half. At the same time, the opposite side of the drawer popped loose from the nails.
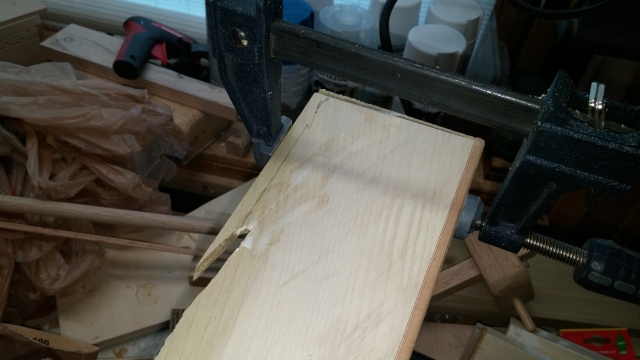
At first glance, it looks like the drawer is ready for the fire pit. I uttered a few colorful metaphors, then realized that all of the damage could be fixed with simple glue. The split in the wood caused by the router was so clean and followed the grain so nicely, that when I squeezed it together with my fingers, it disappeared. So I broke out the glue, filled in the cracks, put three clamps on that sucker, and took it inside to dry. I’m confident that once I figure out a process to do this a little bit better, I’ll be able to salvage it.
So, I turned back to the other three drawers as they stared in fright at the router. I decided not to risk that tear-out again. I got lucky this time, the damage done by the router seems to be easily fixable—we’ll see after the glue dries—so for drawer number two, I decided to just do the pull saw. There were no nails in danger of being hit, so I figured it should be pretty quick, considering this thing cuts like a hot knife through butter
I used some clamps to set the drawer up on its side and after making my marks about a quarter inch from the top edge all the way around I started to make my initial cuts. Couple things I noticed was it was easier to use the crosscut side of the side to get the kerf going then switch to the rip cut. The other thing I noticed was that the saw chattered enough no matter what angle I used that I was worried I’d rip the drawer apart before I could make any cuts. Somehow I soldiered on and was able to use a few relief cuts to break away the pieces as I cut down the length of each side. It was a messy affair and the saw wanted to constantly wonder off of the line I wanted to pull it on, so the cut in the end was a ragged affair.
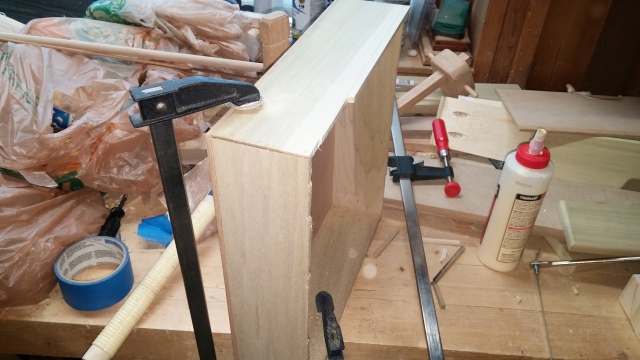
So, I rotated the drawer re-clamped everything and started the next cut. And cut and cut and cut, then relief cut then start over again. Rotate and repeat for the last two sides. In all it took me about 20 minutes to cut the drawer.
I should say at this point I started getting worried I wouldn’t be able to do much more than this during today’s session, as my hand was cramping up. Just before I came outside into the garage to work today, I happened to walk by the kitchen table and swung my hand awkwardly. I clipped the middle of my hand right on the corner of the table. It hurt like the dickens, but I figured it would just pass. Well it didn’t. The middle finger started growing numb about the time I was halfway through cutting drawer number two. By the time I finished my sloppy cuts, my hand had grown stiff enough that it was getting hard to grip the saw. Rather than taking a chance and injuring myself further—or even worse the saw—or destroying the drawer, I decided to stop cutting for the day.
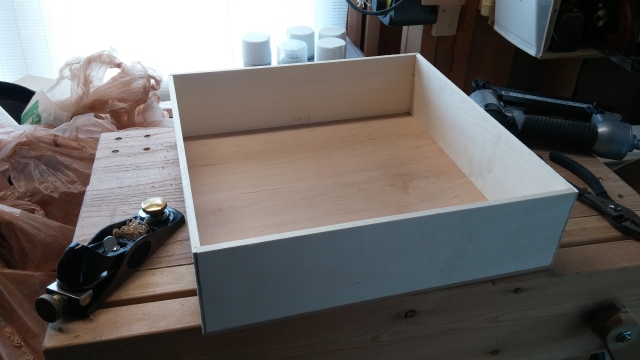
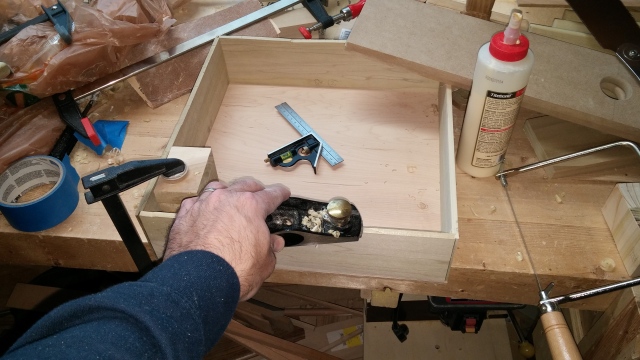
I wasn’t quite willing to quit for the day, however. So I clamped the drawer down to the bench, brought out the block plane and started to smooth the rough saw cuts. In short order, I had nice smooth, clean edges again. Most of the saw marks were gone and I was able to bring the kerf back in line with my original cut line. It was minimal work, but it was hard enough to grip the block plane with an injured dominant hand. I got the drawer half done when my wife convinced me to hang it up for the day and get inside to ice my hand.
The entire time I kept telling myself if I had a table saw, I could’ve ripped these things off and be done and moved on to the next step. Instead, I’m looking at possibly another two or even three sessions out here just to fix the drawers.
Anyway, that pretty much sums it up for the day. A disappointment to be sure, but a glimmer of hope for next time as well. If I can refine my process of cutting and using the block plane, I might be able to get these drawers done in a reasonable amount of time.
I noticed while I was using the block plane that if the blade caught the opposite side, it tended to want to separate and pull the nail head right through the wood. So when I’m done using the plane, I intend to go back and put glue in all the corners.

I don’t know if it would’ve been better to have glued everything up to begin with rather than just using nails, because the stress that the drawers have been under so far from cutting and planning may have actually broken the wood worse than just the seams. Either way, I’m confident that when I’m all done I will have finished the repair work and no one will be the wiser when everything is put together assembled. Except you people reading…this…post…oops.
All in all it’s been a hell of a learning experience and I think I’ve learned a lot today. Nobody got hurt (well, not by woodworking), no tools were harmed, and the workpiece has been saved. I hope.